Event
- 특정 사건을 의미
- 예) 사용자가 버튼을 클릭한 사건 : 버튼 클릭 이벤트
DOM의 Event와 리액트의 Event 비교
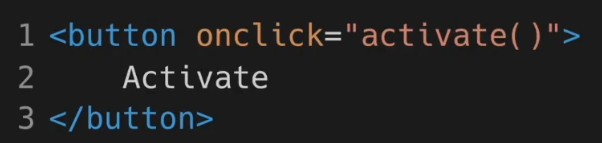
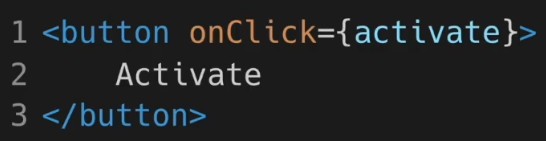
- 리액트의 onClick은 카멜 표기법으로
- 함수 전달 방식에 약간 차이있음
Event Handler
- 어떤 사건이 발생하면, 사건을 처리하는 역할
- Event Listener라고 부르기도 함
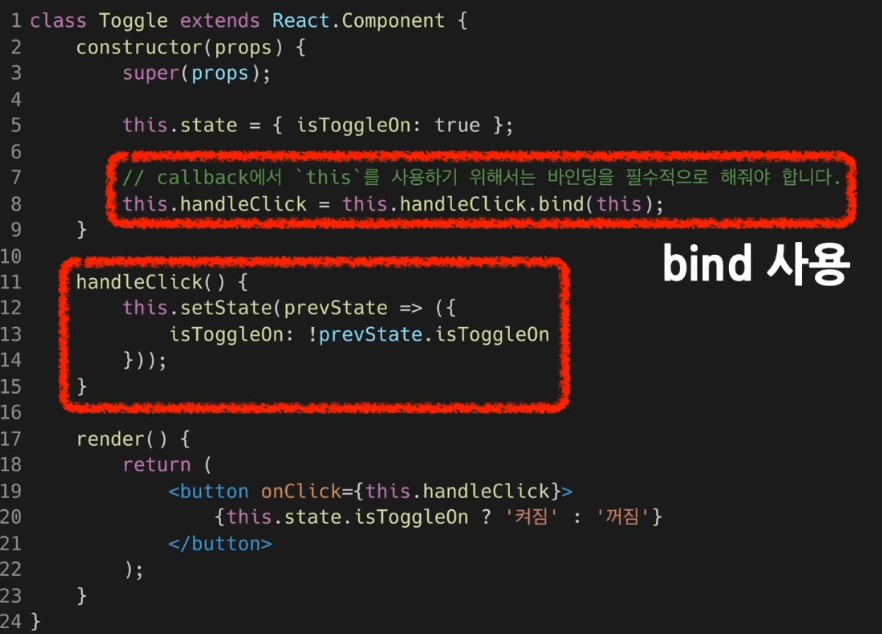

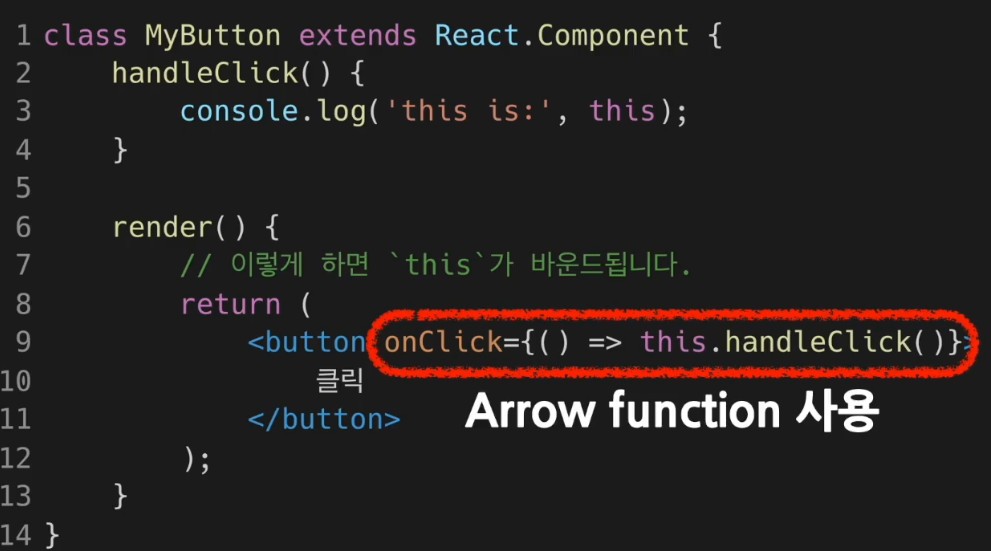
- Arrow function 사용은 권장되는 방식이 아니다. 그러니 Bind 혹은 Class fields syntax 를 사용하는 것이 좋다.
Arguments 전달하기
- Arguments는 함수에 전달할 데이터, Event Handler에 전달한 데이터, 매개변수 역할

위는 Arrow function 을 사용하여 Event Handler에 Arguments를 전달한 것이고, 아래는 bind를 사용하였다. Arrow function으로 사용한 방식은 명시적으로 event를 두번재 매개변수로 넣어주었고, 아래 bind 방법은 Event가 자동으로 id 이후에, 두번째 매개변수로 전달된다. 위의 두 방식은 Class 컴포넌트에서 사용하는 방식이므로 지금은 거의 사용하지 않는다.
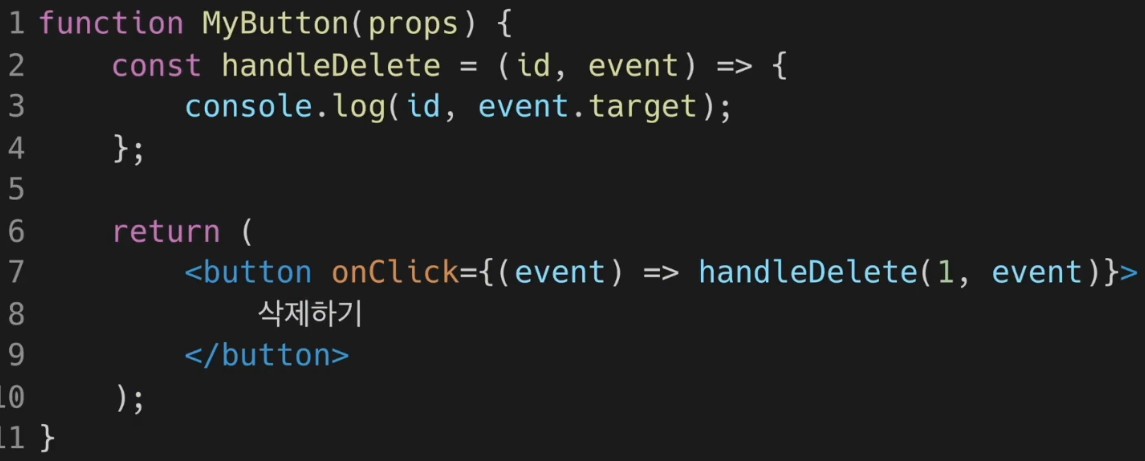
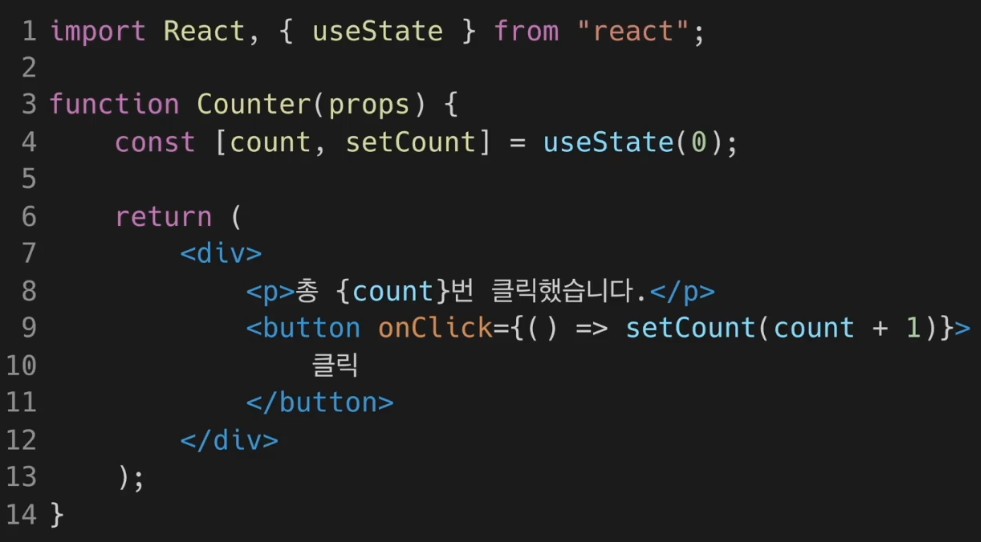
함수 컴포넌트에서 사용법. 참고로 매개변수의 순서는 원하는대로 변경해도 상관없다.
실습 : 클릭 이벤트 처리하기
1) Bind를 사용한 방식 (Class Component)
import React from "react";
class ConfirmButton extends React.Component {
constructor(props) {
super(props);
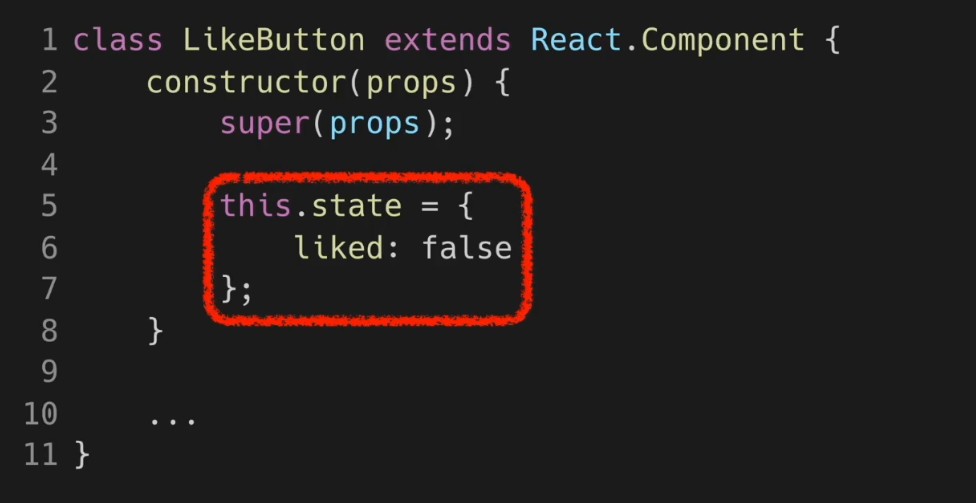
// 확인여부 저장위함 (초깃값 false)
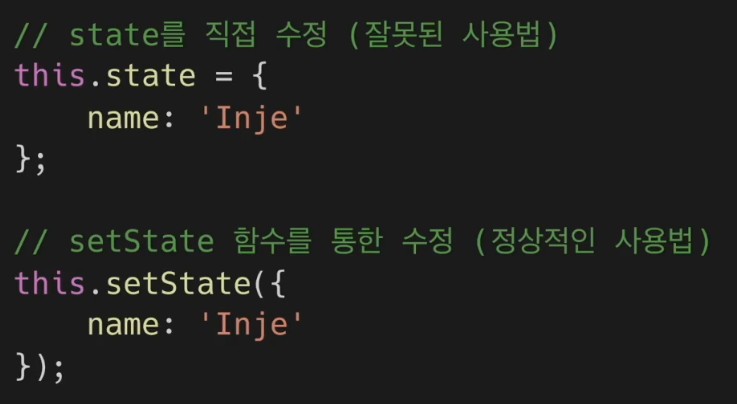
this.state = {
isConfirmed: false,
};
this.handleConfirm = this.handleConfirm.bind(this);
}
// Event Handler : 버튼을 누르면 실행됨
handleConfirm() {
this.setState((prevState) => ({
isConfirmed: !prevState.isConfirmed,
}));
}
render() {
return (
<button
onClick={this.handleConfirm}
disabled={this.state.isConfirmed}
>
{this.state.isConfirmed ? "확인됨" : "확인하기"}
</button>
);
}
}
export default ConfirmButton;import React from 'react';
import ReactDOM from 'react-dom';
import './index.css';
import App from './App';
import reportWebVitals from './reportWebVitals';
import ConfirmButton from './chapter_08/ConfirmButton';
ReactDOM.render(
<React.StrictMode>
<ConfirmButton />
</React.StrictMode>,
document.getElementById('root')
);
// If you want to start measuring performance in your app, pass a function
// to log results (for example: reportWebVitals(console.log))
// or send to an analytics endpoint. Learn more: https://bit.ly/CRA-vitals
reportWebVitals();
실행하면, 확인하기 버튼 하나가 생성되는데, 누르면 확인됨으로 변경되고, 버튼이 비활성화 되는 것을 확인할 수 있다.
2) Class fields syntax 를 사용한 방식 (Class Component)
import React from "react";

class ConfirmButton extends React.Component {
    constructor(props) {
        super(props);

        // 확인여부 저장위함 (초깃값 false)
        this.state = {
            isConfirmed: false,
        };
    }

    // Event Handler : 버튼을 누르면 실행됨
    handleConfirm = () => {
        this.setState((prevState) => ({
            isConfirmed: !prevState.isConfirmed,
        }));
    }

    render() {
        return (
            <button
                onClick={this.handleConfirm}
                disabled={this.state.isConfirmed}
            >
                {this.state.isConfirmed ? "확인됨" : "확인하기"}
            </button>
        );
    }
}

export default ConfirmButton;
bind를 사용한 부분을 지우고, 이벤트 핸들러를 Arrow function으로 변경한다. 실행결과 동일하게 작동된다.
3) 함수 컴포넌트로 바꿔보기 (권장)
- Class Component는 거의 사용하지 않기 때문에 이 방법을 가장 권장함
import React, { useState} from "react";

function ConfirmButton(props) {
    const [isConfirmed, setIsConfirmed] = useState(false);

    const handleConfirm = () => {
        setIsConfirmed((prevIsConfirmed) => !prevIsConfirmed);
    };

    return (
        <button onClick={handleConfirm} disabled={isConfirmed}>
            {isConfirmed ? "확인됨" : "확인하기"}
        </button>
    );
}

export default ConfirmButton;
state는 useState() 훅을 사용해 처리, EventHandler는 Arrow function 이용해 만듦. 작동시킨 결과, 역시 동일한 결과가 나온다.
'React' 카테고리의 다른 글
| [React] List 와 Key (0) | 2024.08.13 |
|---|---|
| [React] Conditional Rendering (0) | 2024.08.12 |
| [React] Hooks 실습 (0) | 2024.08.07 |
| [React] Hooks (0) | 2024.08.06 |
| [React] State and Lifecycle (0) | 2024.08.03 |