Components
작은 컴포넌트들이 모여서 하나의 컴포넌트를 구성하고 이런 컴포넌트들로 전체 페이지가 구성됨
Component가 붕어빵 틀이라면 Element는 붕어빵. 자바의 객체와도 같음
Props
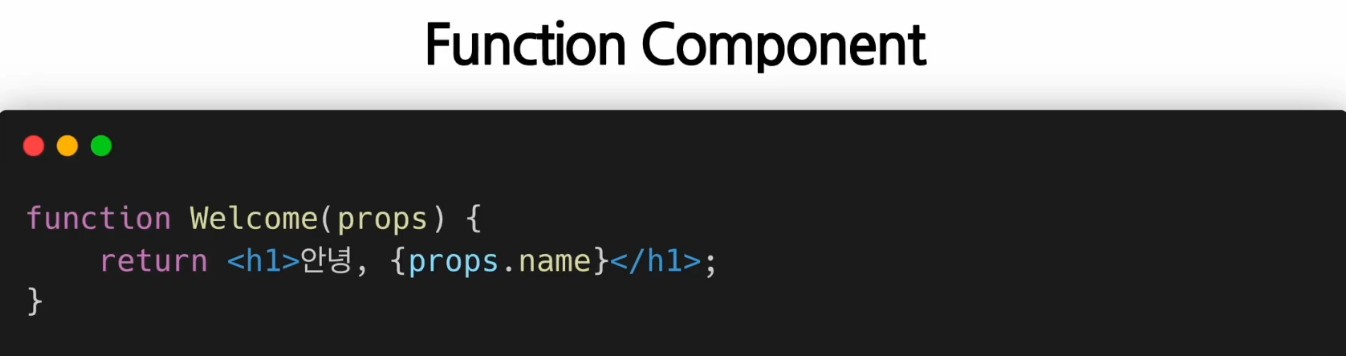
prop은 리액트 Component의 property(속성)
붕어빵에 들어가는 재료라고 보면 됨
Props 의 특징
읽기 전용 - 값을 변경할 수 없다. (붕어빵 다 구워졌으니 속재료 변경 불가)
같은 Props에 대해서는 항상 같은 결과를 보여줌
Props 사용법
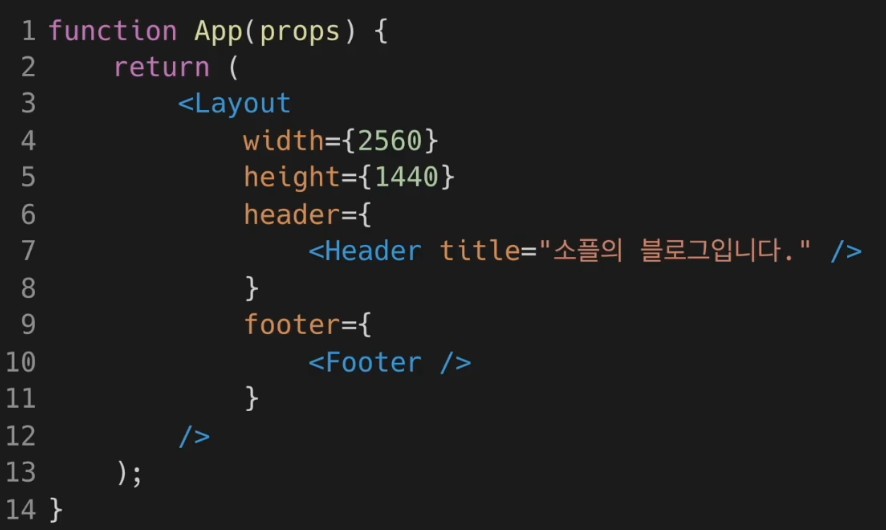
JSX 사용경우 (권장)

JSX 사용하지 않을 경우

Component 만들기

class component : React.Component를 상속받음
Component의 이름 짓는 법
- Component의 이름은 항상 대문자로 시작해야 한다!
Component 렌더링

Component 합성
- Component 안에 또 다른 Component
Component 추출
- 큰 Component 를 일부를 추출해서 새로운 Component를 만듦
- 재사용성 높아짐
- 개발속도 향상
실습 : 댓글 컴포넌트 만들기
import React from "react";

function Comment(props) {
    return (
        <div>
            <h1>제가 만든 첫 컴포넌트</h1>
        </div>
    );
}

export default Comment;
import React from "react";
import Comment from "./Comment";
function CommentList(props) {
return (
<div>
<Comment />
</div>
);
}
export default CommentList;import React from 'react';
import ReactDOM from 'react-dom';
import './index.css';
import App from './App';
import reportWebVitals from './reportWebVitals';
import CommentList from './chapter_05/CommentList';
setInterval(() => {
ReactDOM.render(
<React.StrictMode>
<CommentList />
</React.StrictMode>,
document.getElementById('root')
);
}, 1000);
// If you want to start measuring performance in your app, pass a function
// to log results (for example: reportWebVitals(console.log))
// or send to an analytics endpoint. Learn more: https://bit.ly/CRA-vitals
reportWebVitals();
댓글 리스트 컴포넌트 안에 댓글 컴포넌트가 포함되어 있는 형태이다.
컴포넌트에 스타일 입히기
import React from "react";

const styles = {
    wrapper: {
        margin: 8,
        padding: 8,
        display: "flex",
        flexDirection: "row",
        border: "1px solid grey",
        borderRadius: 16,
    },
    imageContainer: {},
    image : {
        width: 50,
        height: 50,
        borderRadius: 25,
    },
    contentContainer: {
        marginLeft: 8,
        display: "flex",
        flexDirection: "column",
        justifyContent: "center",
    },
    nameText: {
        color: "black",
        fontSize: 16,
        fontWeight: "bold",
    },
    commentText: {
        color: "black",
        fontSize: 16,
    },
};

function Comment(props) {
    return (
        <div style={styles.wrapper}>
            <div style={styles.imageContainer}>
                <img
                    src="https://lh3.googleusercontent.com/proxy/fKYexLyW7D6DMKEsN_TZbTFFgn95uCZDwkBW8-YSORGtmw9KrzayhocMeyh__7sl0rW9XjR0Qlp2gC5-Txx9IXPzsKZxvdoXB9OCROAg4tzP_XBvrA"
                    style={styles.image}
                />
            </div>

            <div style={styles.contentContainer}>
                <span style={styles.nameText}>김이박</span>
                <span style={styles.commentText}>
                    제가 쓴 첫 댓글
                </span>
            </div>
        </div>
    );
}

export default Comment;
다음과 같이 Comment.jsx를 수정한다.

그럼 다음과 같이 댓글에 스타일이 적용된 것을 확인할 수 있다.
컴포넌트에 Props 추가하기
            <div style={styles.contentContainer}>
                <span style={styles.nameText}>{props.name}</span>
                <span style={styles.commentText}>
                    {props.comment}
                </span>
            </div>
우선 위에서 수정한 Comment 컴포넌트에서 닉네임과 댓글 부분을 다음과 같이 {props.name} 그리고 {props.comment}로 수정한다.
import React from "react";
import Comment from "./Comment";

function CommentList(props) {
    return (
        <div>
            <Comment name={"야야야"} comment={"hello world!"} />
            <Comment name={"좋아요"} comment={"ㅋㅋㅋㅋㅋㅋ"} />
        </div>
    );
}

export default CommentList;
CommentList 컴포넌트로 가서 Comment 컴포넌트들의 요소를 다음과 같이 설정하면...

올바르게 값들이 불려진 걸 확인할 수 있다.
Comment 데이터를 별도의 객체로 분리하기
import React from "react";
import Comment from "./Comment";

const comments = [
    {
        name: "손흥민",
        comment: "안녕하세요, 손흥민입니다.",
    },
    {
        name: "이강인",
        comment: "이강인입니다. 반갑습니다.",
    },
    {
        name: "김민재",
        comment: "제 이름은 김민재입니다. 반갑습니다.",
    },
];

function CommentList(props) {
    return (
        <div>
            {comments.map((comment) => {
                return (
                    <Comment name={comment.name} comment={comment.comment} />
                );
            })}
        </div>
    );
}

export default CommentList;
CommentList.jsx 에서 각 댓글 객체를 작성하고, 컴포넌트에서 map으로 각 댓글 객체 조회 후, Comment 컴포넌트 소환 후 각 요소들에 데이터들을 집어 넣는다.

댓글 객체의 데이터들이 불려져왔다.
'React' 카테고리의 다른 글
| [React] Hooks (0) | 2024.08.06 |
|---|---|
| [React] State and Lifecycle (0) | 2024.08.03 |
| [React] Rendering Elements (0) | 2024.07.31 |
| [React] JSX 의 장점과 사용법 (0) | 2024.07.30 |
| [React] create-react-app (0) | 2024.07.29 |